Thursday, December 9, 2010

Let's get it coated


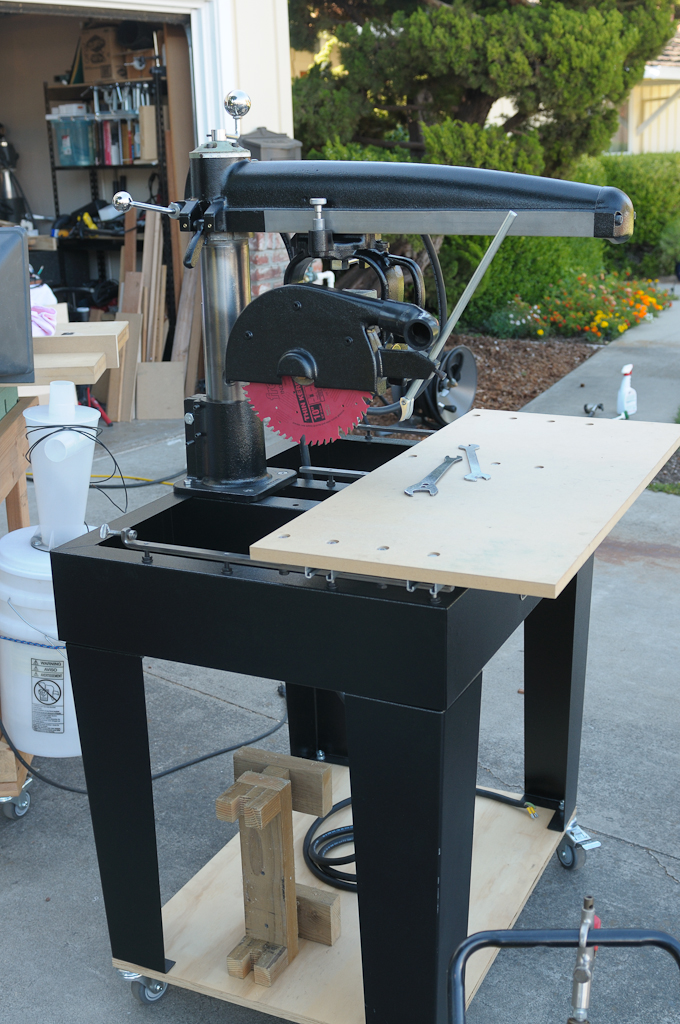
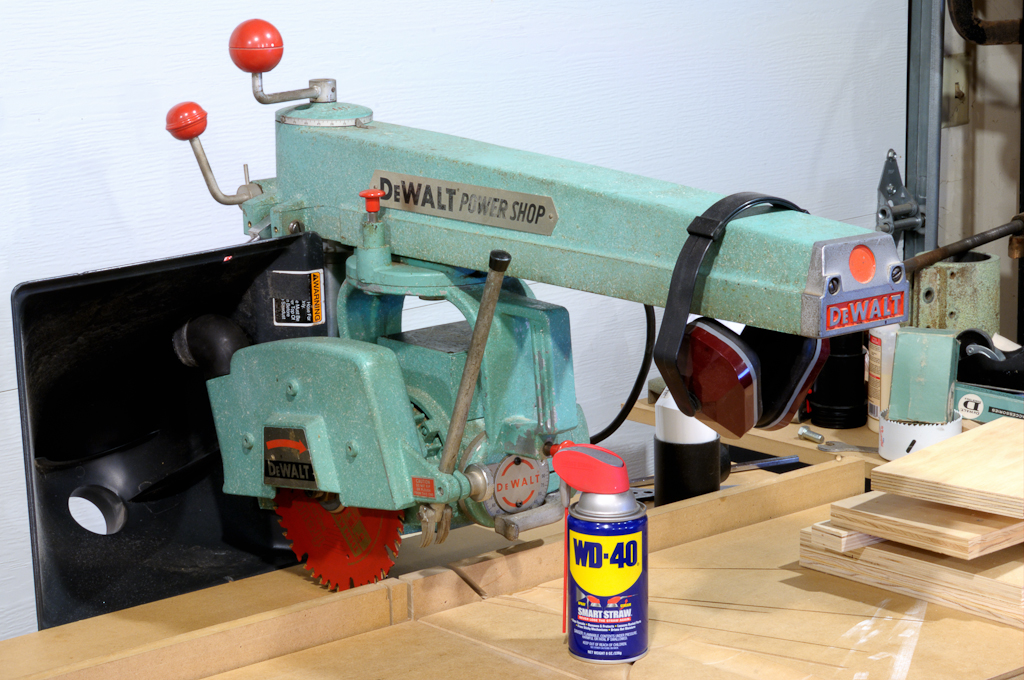
This is a radial arm saw with all the parts assembled. WD40 can for scale in all images.


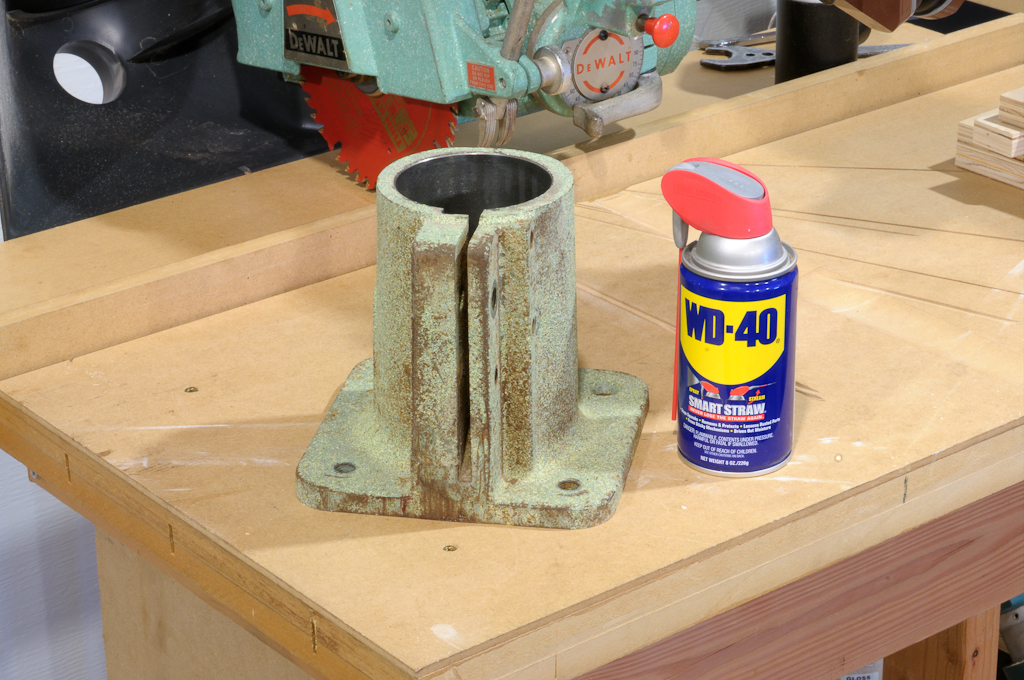
The column base (Cast Iron, has machined interior surface and threaded holes)


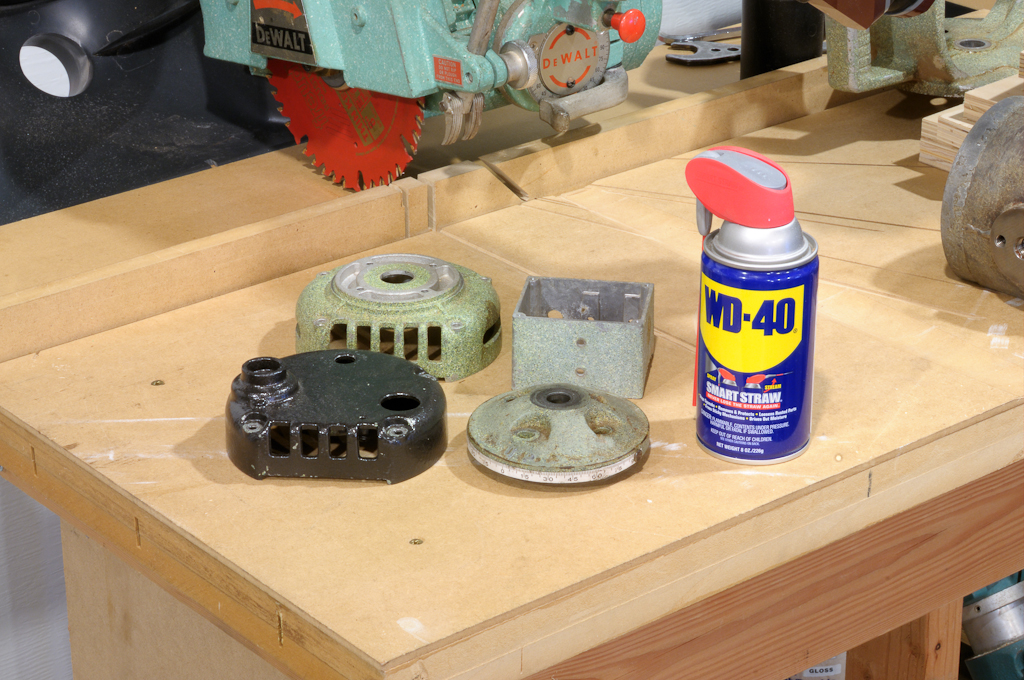
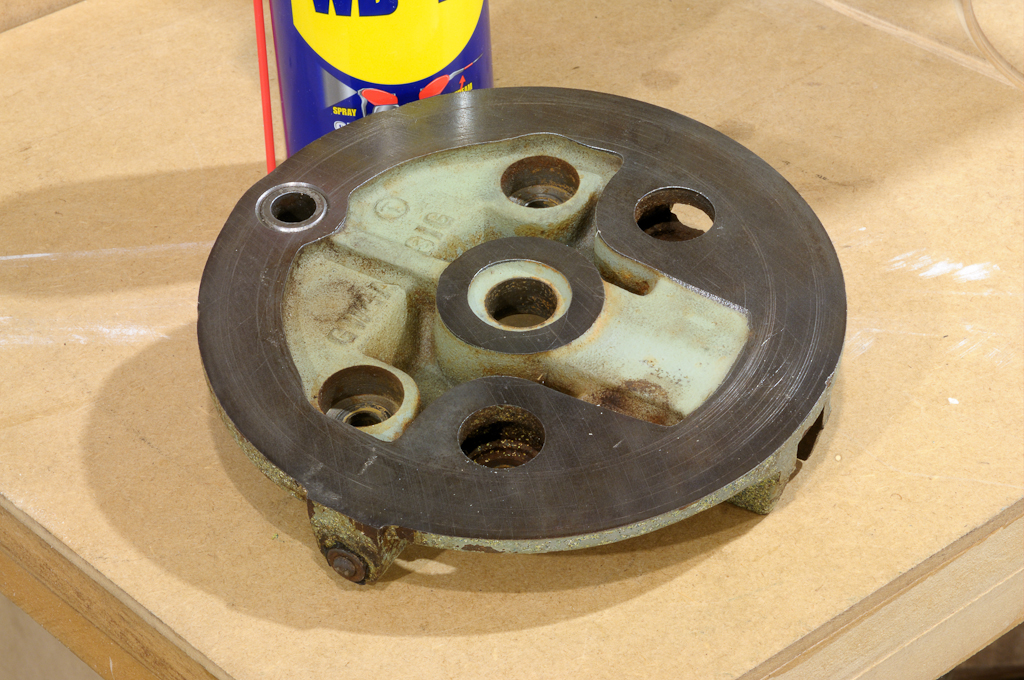
The two motor end bells (aluminum with machined surfaces for the bearings), thrust cap (cast iron) and electrical box for motor (aluminum)


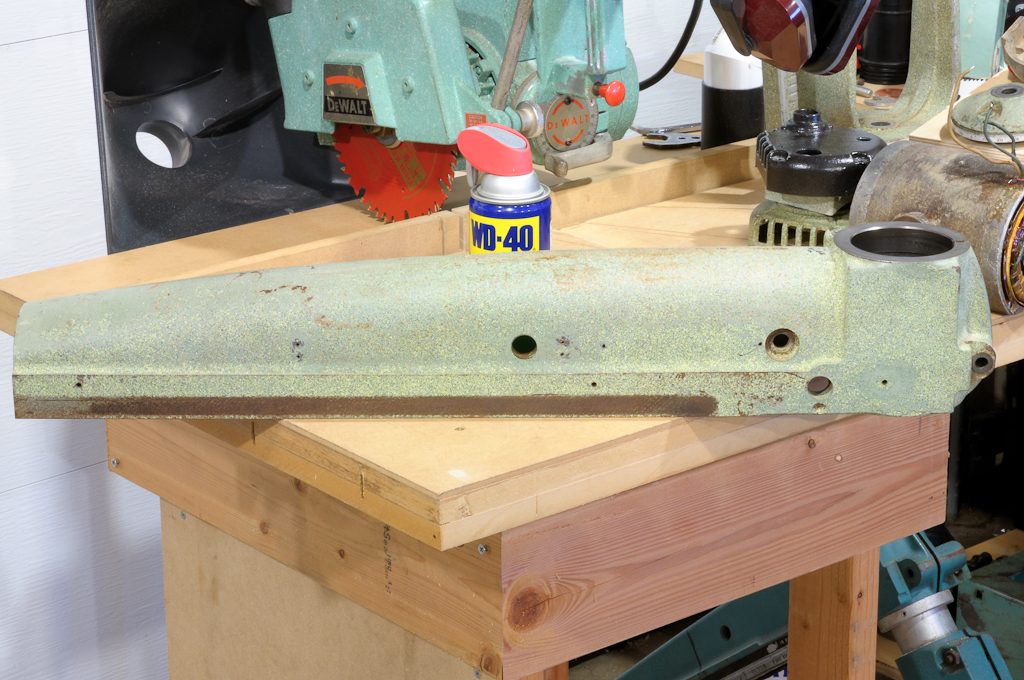
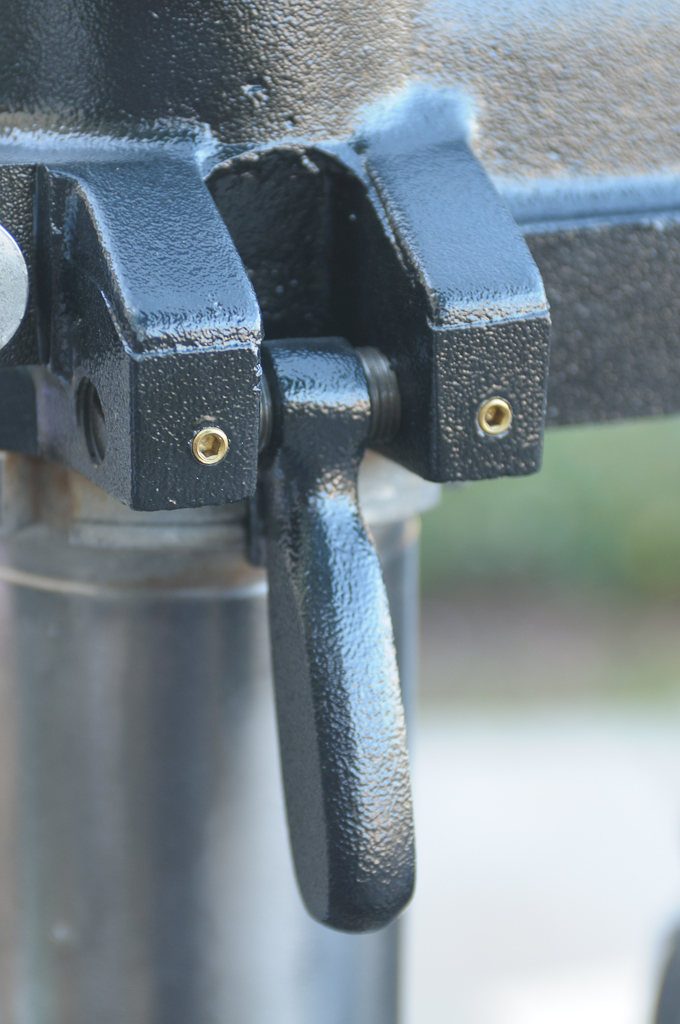
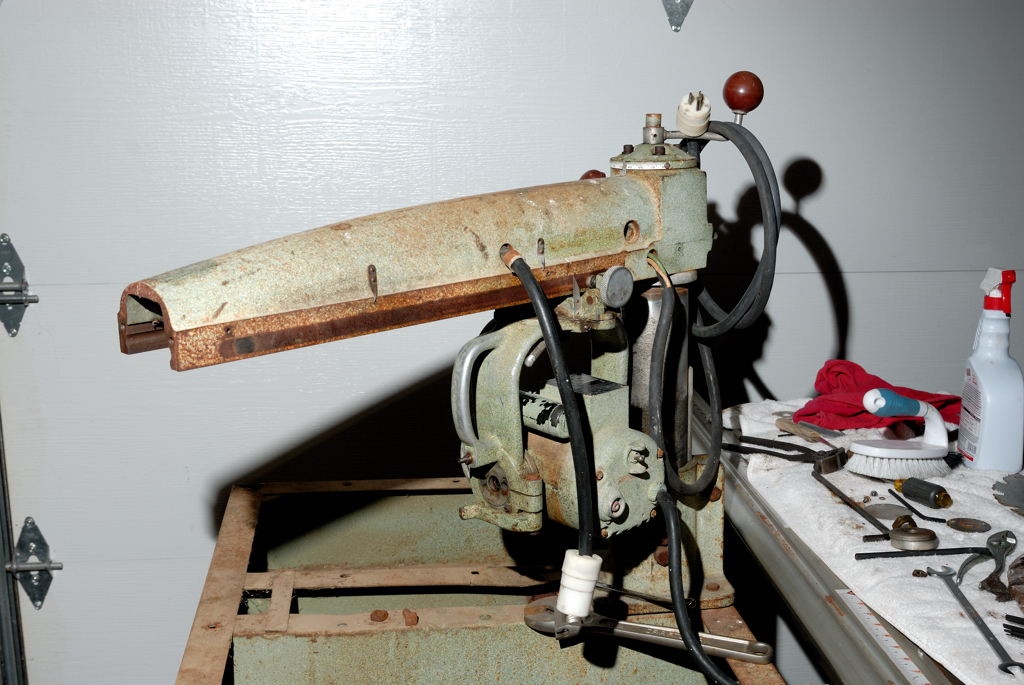
The arm (cast iron). It has machined surfaces where it rests against the column and threaded holes.


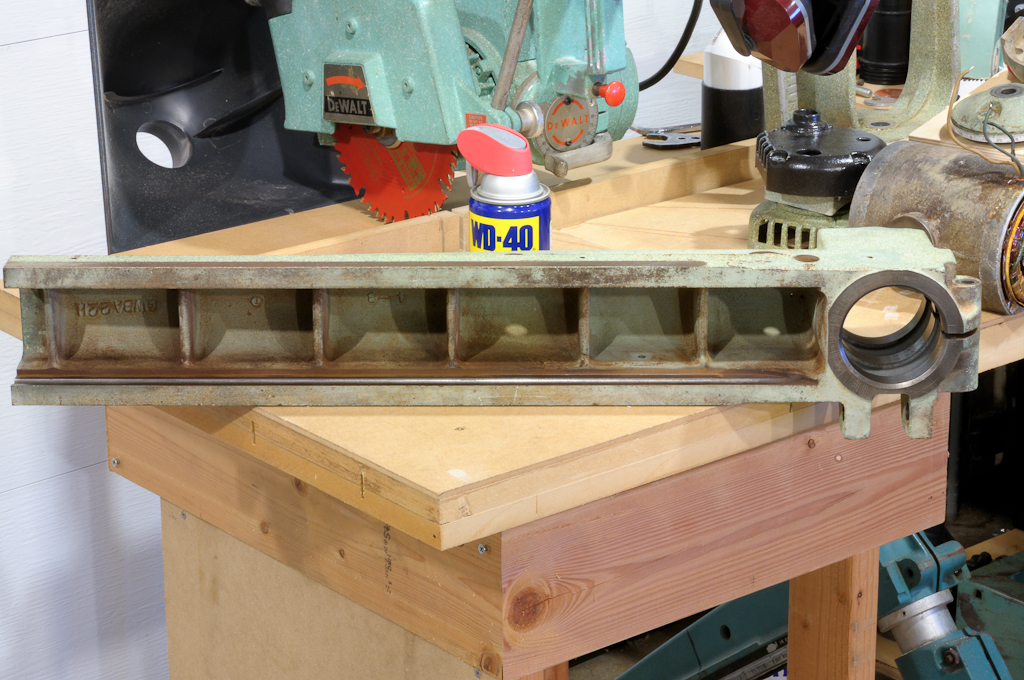
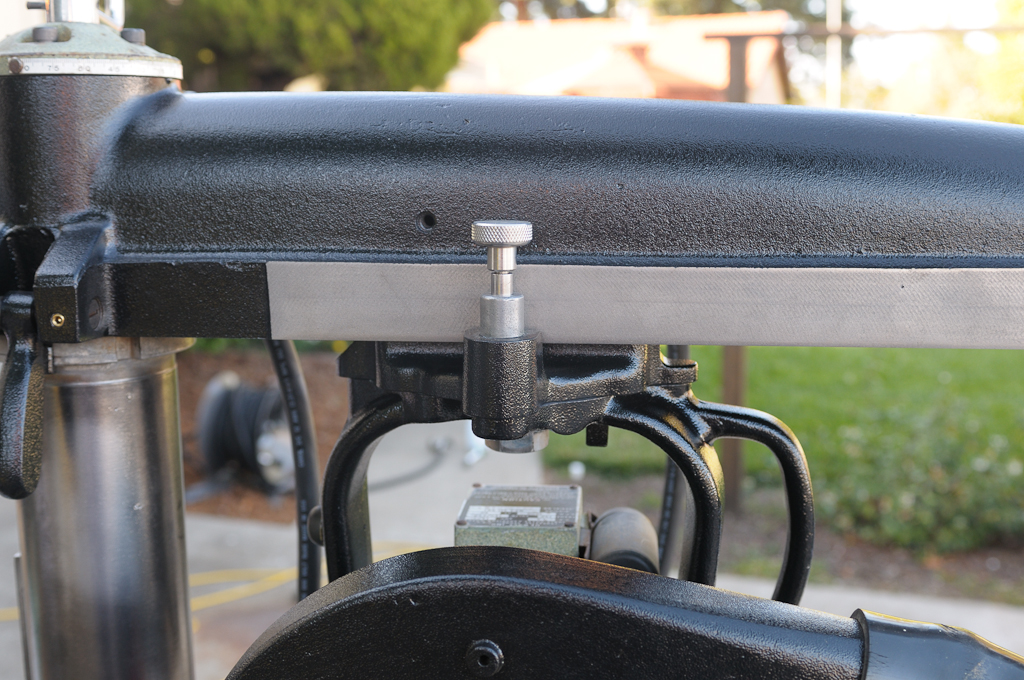
The arm on its side showing the machined "ways" where the roller carriage travels.


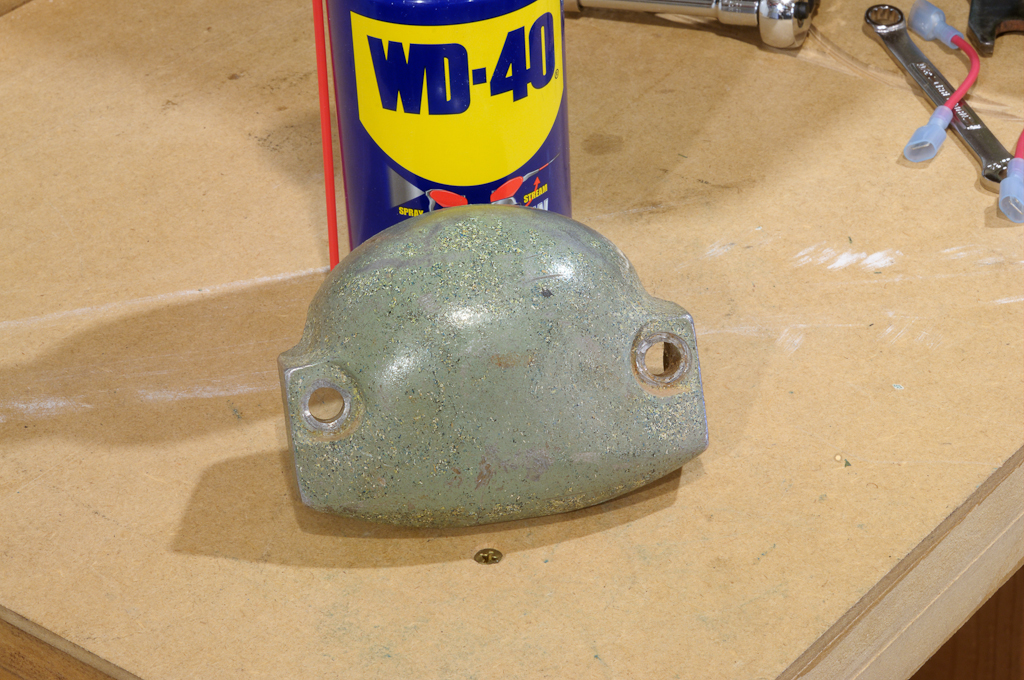
This is the "nose" cap that goes on the end of the arm. It's thick aluminum.


The roller carriage (cast iron) top view - it has threaded holes for set screws


The roller carriage (cast iron) bottom view showing machined surfaces.


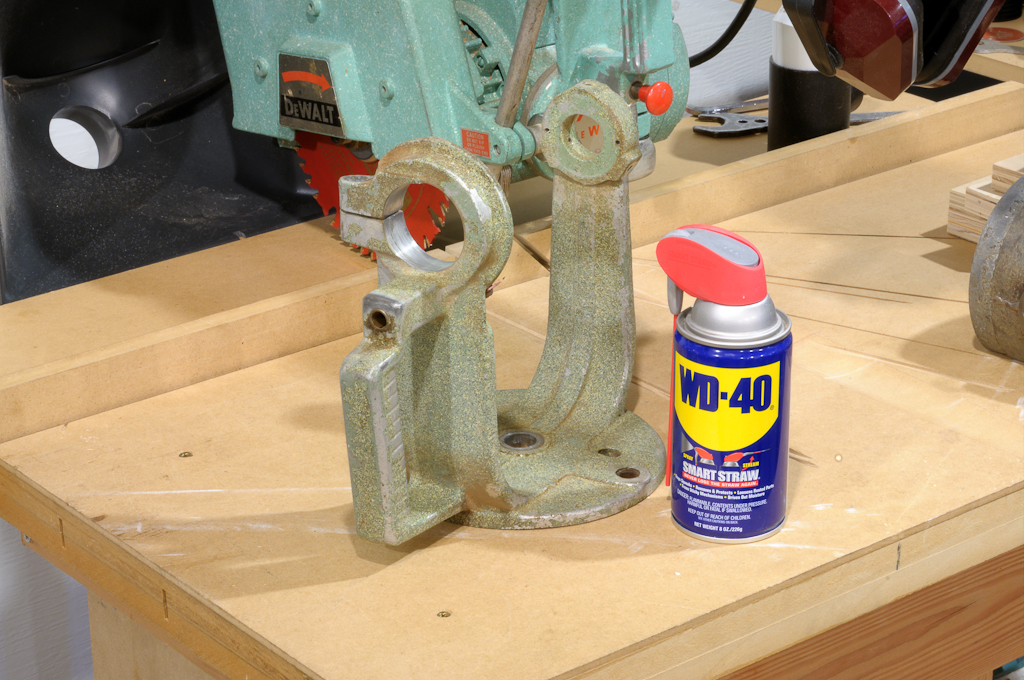
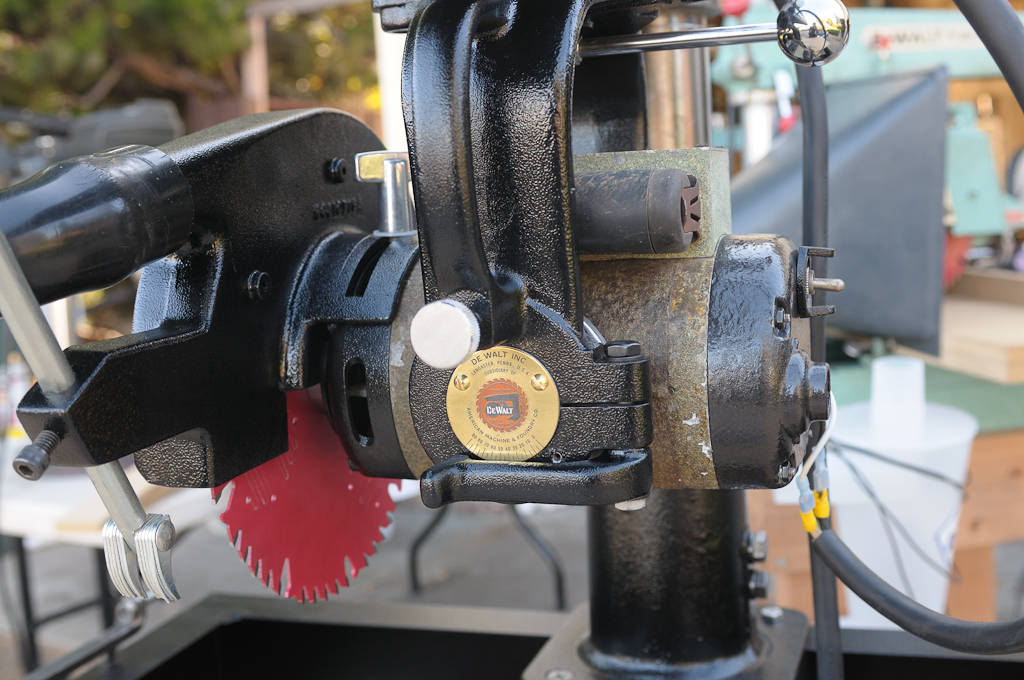
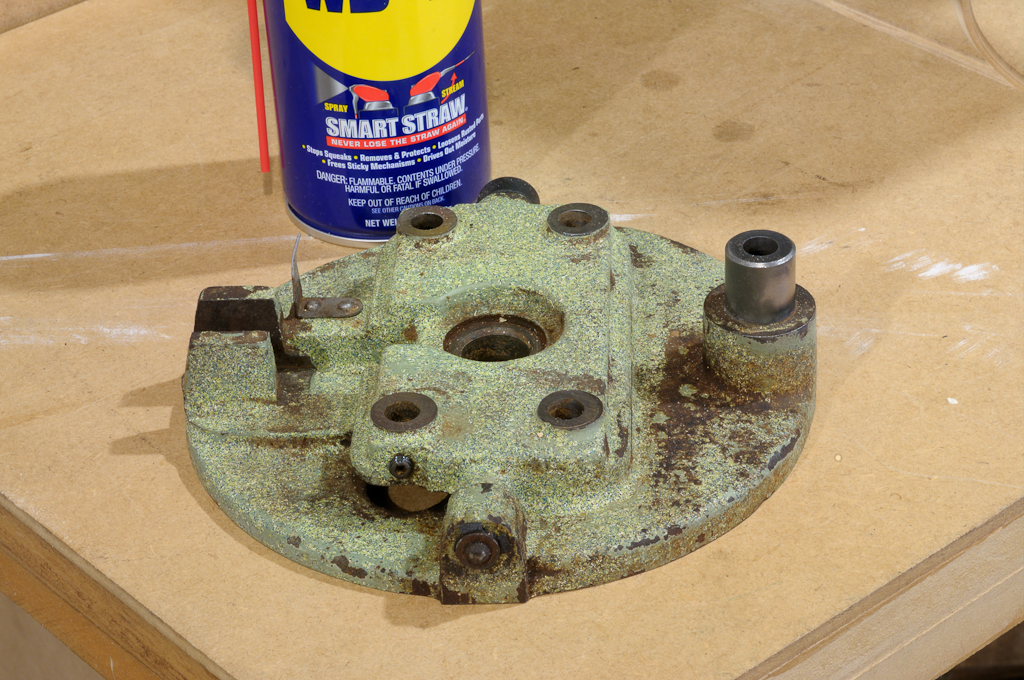
The yoke which holds the motor (Aluminum). It has threaded holes for set screws and a brass lined hole for the indexing pin.


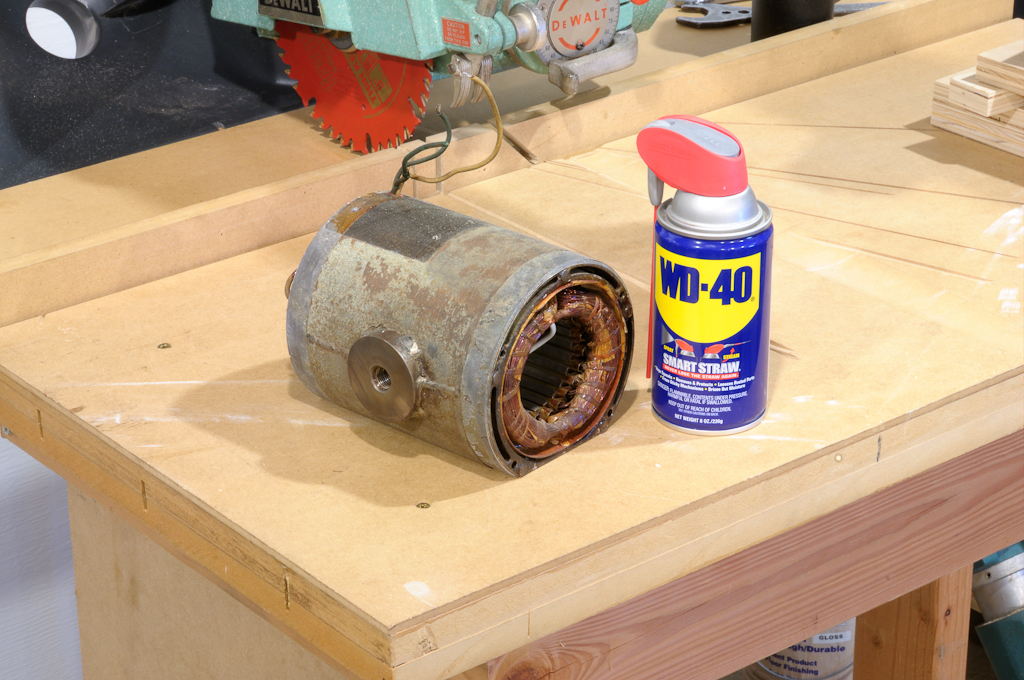
The motor housing (can't be powder coated as the insulation would melt in the oven)


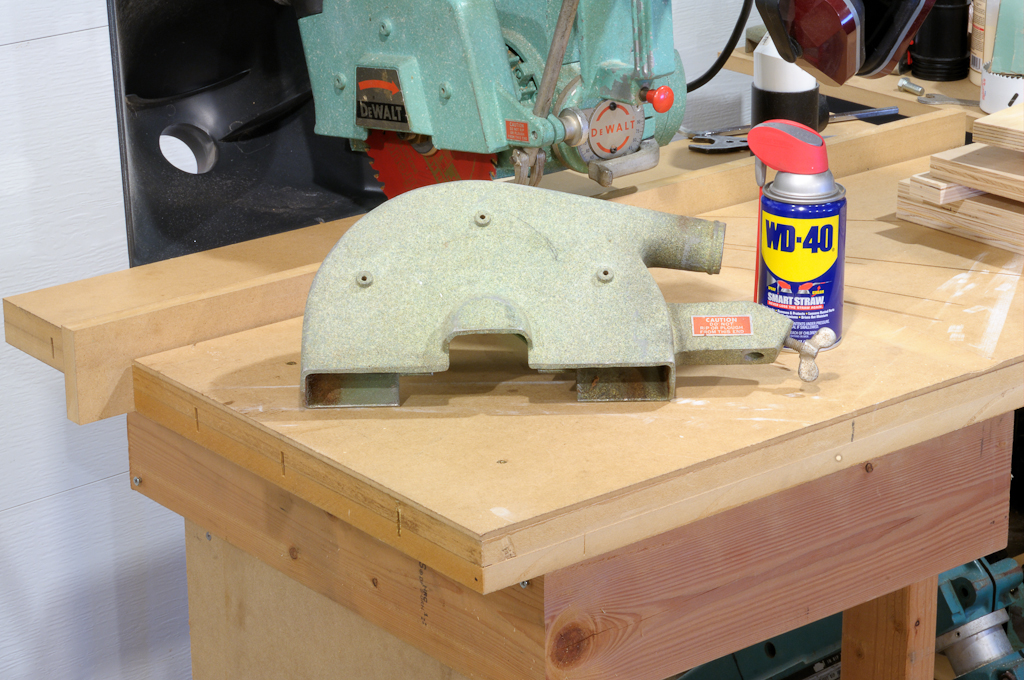
The blade guard (Aluminum). It has a large threaded hole.

Tuesday, May 4, 2010

Electric Brake

I finally got my electric brake working for dual voltage. Here's a quick pic (click for larger version):

Left to right you see:
1) The main switch that sends voltage to the motor (two red leads) or the brake circuit (the long black cord wrapping around with black/white/green protruding)
2) The switch inside the brake circuit (120V) that makes sure 240V doesn't make it into the brake. The voltage coming into the circuit acts as both the "control" and the "controlled" current.
3) (on the left of the large white relay) a smaller relay that isolates the circuit from the voltage flowing to the motor
4) The "On Delay, Off Delay" relay (Macromatic TR-66122)
5) The rectifier
6) The transformer

What does it do? Basically, when the main switch is in the "Off" position 120V of AC are turned into 24V of DC and sent to the motor, stopping a 10" blade in about 6 seconds.

It works perfectly.

Parts were about $110 (The large relay is a $65 part). I'm sure it can be done cheaper but God knows I am no EE and this thing works like a champ.

I'll post more (proper diagram) later when I get more time.

Thursday, April 22, 2010

It Lives! Woooo Hoooo!

About damn time! I got the eBay motor, pulled out the fan, pressed it onto my rotor and put her back together.

It was still a bit rough.

I pulled it apart, made sure to shim the front bearing properly, and put it back together.

Much better but the rear was still groaning a bit.

I pulled it apart, noted the grease leaking out of the rear bearing, pulled it off the shoulder by 1/8" and pressed the motor back together.

Much, MUCH better. Still not perfect but almost acceptable. I threw an 8" blade on there and it actually helped (as well as masked the noise ;-).

Tuesday, April 13, 2010

Okie Dokie, fan on the way

I just won an auction for a GWI motor on EBay (my first ever purchase from there).

At this point I have two extra GWI motors without fans. I plan to find much cheaper MBF's out there to cannibalize off of and then turn a GWI carcass and a GWI motor into cash to support my habit.

Worst case I'll have two spare windings for GWI's.

Not long now...

Thursday, April 1, 2010

Bummer

I used loctite 271 to seat the bearing. It seems to have worked great.

When I went to press the front bell off of the rotor I got distracted and broke the fan. This is ironic because I think I just sold my last extra. Man, some days...

I was wondering just the other day why so many people are looking for these fan/how they come to be broken. Now I know :-)

I'm not totally sure at this point if this saw was meant to be re-built.

Monday, March 29, 2010

Finally making some headway

I pressed the "new" rotor with new bearings and end bells into the "new" stator and it is finally acceptable. the only problem is that the bearings are a teeny bit loose on the shaft.

I'll use some LocTite to fix that until I am inspired to get different bearings (not any time soon).

A few hours and some hammered black paint on the "new" end bells and it will be time to build a table a tune up a RAS.

All in good time...

Wednesday, March 24, 2010

Got the new saw and rotor

I tried the new rotor in my restored bells and motor and got very little difference in terms of oscillations.

That being the case I am going to try the new bells and rotor on the restored motor and see if that finally works. If it does I will know the restored bells are shot and just move on from there.

Monday, March 22, 2010

Got my rotor back today

Pressed it into the 196 and fired her up, still bad oscillations.

I have come to the conclusion that I must have jacked the rotor while pressing it into or out of a bearing at some point.

New rotor will be picked up tomorrow and we'll see if that helps.

Wednesday, March 17, 2010

I found another GWI

So this No Op Shop is gonna be out of the game.

I found another GWI for parts.


I'll get my rotor back, try new bearings, and if I can't get it smooth I'll pull what I need off of this saw to put my hot rod to work.

Here's an older photo of it waiting for its rotor:


Since then I've added new hardware in the locations you see rusted hardware. With the motor back together and some shim washers she should be formidable. When this thing is locked it doesn't move at all.

I plan to build a Mr Sawdust "sub" table and bolt it to the bottom of the table between the table and the legs to provide stability and resist deflection.

Click on the images to see larger versions.

Thursday, March 11, 2010

Gotta hate these small shops

So the guy calls me today and says he hasn't started yet, lol.

He wants me to create some drawings of what I want done. Far Out. OK.

When I do so I will post them here for fun in case someone else needs them.

Thursday, March 4, 2010

Nope, looks like March 15th

Gotta love these small shops...

Man, I hope this GWI can come back from purgatory. I'm ditching my R1350 and need a daily driver with more power than my 925DLX. I will say this, though. When I fired up the DLX and cut up some wood this weekend I was amazed that it showed no heel whatsoever and it was still perpendicular to the now thrashed table. Vrrrrrrrrop! Right through the wood, easy as pie with a Freud LU83R008.

Unlike my frequently adjusted R1350 this saw apparently can hold its adjustments for 20 years at a time ;-)

Monday, March 1, 2010

She may come back to life this week

Long story short, the motor for this saw was working perfectly before I disassembled it and sent the saw off to be painted. When it came back and I reassembled the motor it was a mess. Massive vibrations, heated up, just a mess.

I took the rotor, along with a different rotor from an MBF that I thought was suspect, to a machine shop that does prototypes for its bread and butter. He put the rotors on an indexing table and, using a dial indicator, he said it "looks a bit off". He mounted it on a lathe and confirmed that the MBF rotor was not straight by .002" on one end and .001" in the other direction on the other end. Interesting...

I engaged his services to hard chrome the bearing mating surfaces on both rotors and have them reground to straight.

In the intervening weeks it occurred to me that it may well have been that I simply pressed the bearings on crooked or that my pressing technique may have actually bent the rotor. In any event, I didn't think it would hurt to start over with a straight rotor.

I'll post a detailed account of my re-assembly this time with pictures and if it is still a mess perhaps someone can tell me what I am doing wrong.

I have 5 saws right now and room for 2 so I can't wait to get the GWI working (or not) and then begin the process of shedding saws and getting back to woodworking.

I also finished the prototype for an electric brake for the GWI which I will do a detailed post on as well. Parts are just under $100.00 and she works like a champ!

Wednesday, February 3, 2010

The "Before"

I picked up this sad bastard in August of 2009. I hate to think of exactly what it's been through in the last few years.